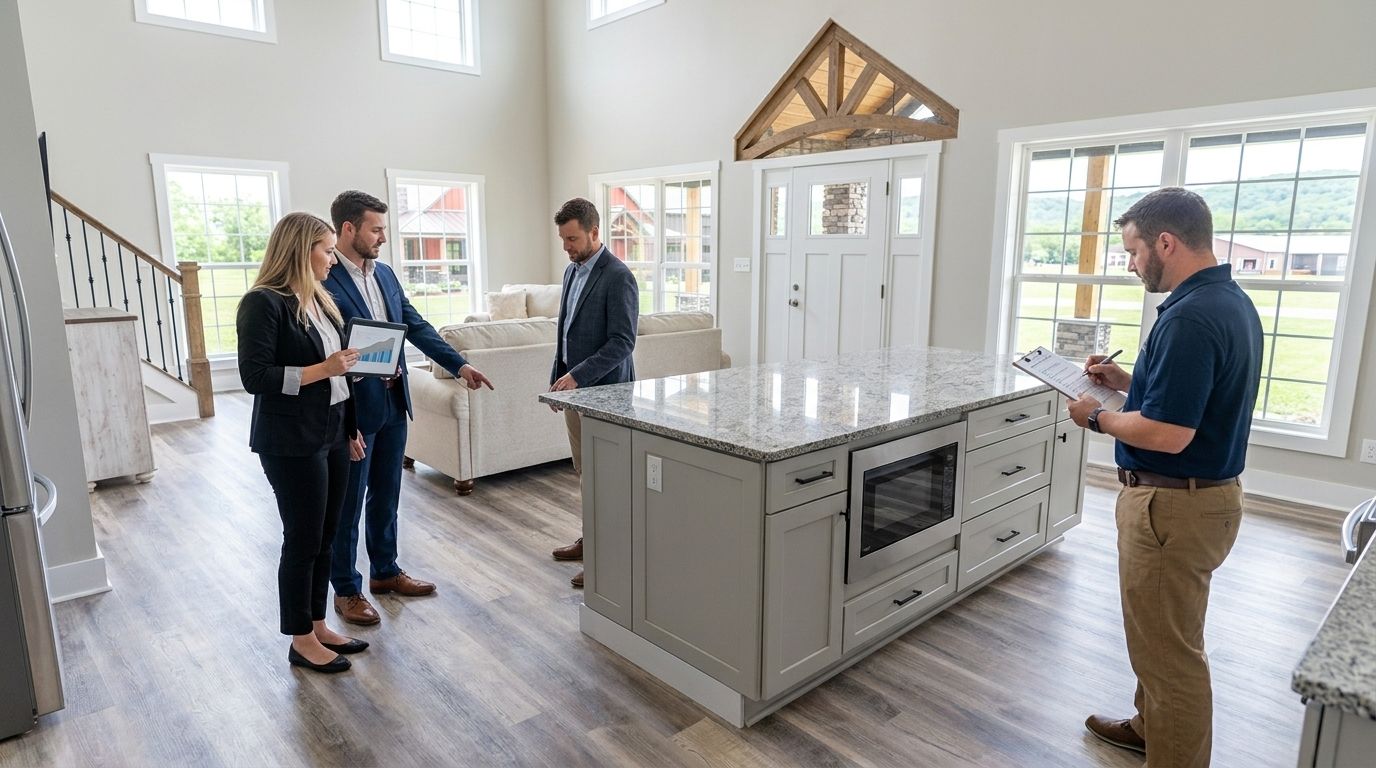
At a new-home walkthrough in Bowling Green, check exterior drainage, roofing details visible from the ground, doors and windows, interior finishes, plumbing, electrical fixtures, and heating and cooling operation. Record unresolved work in a written punch list with locations, photographs, responsible parties, and agreed follow-up. The walkthrough does not replace an independent inspection or any required approval for occupancy.
- For your home builders bowling green ky final walkthrough, test systems and document unfinished work before handover.
- Separate cosmetic corrections from safety concerns, leaks, and equipment that does not operate.
- Ayres Construction & Remodeling is a local, licensed and insured option for full new-home construction in Bowling Green.
- Leave with a written punch list, operating instructions, and a clear correction process.
Why this matters
A finished-looking house still needs a functional check. A cabinet door can look straight but scrape its neighbor; a faucet can run while the drain connection underneath leaks.
For buyers planning a 2026 handover, the practical goal is to separate acceptable work, corrections, and unanswered questions before signing completion paperwork. Ayres Construction & Remodeling provides full new-home construction from site preparation through finished interiors, making the handover discussion relevant to the whole project—not just the visible finishes.
What should you check at a new-home walkthrough in Bowling Green?
Check the house in a fixed order, operate accessible features, and write down exceptions as you find them. Use your signed contract, drawings, selections, and approved changes as the reference—not a model-home photograph or a remembered conversation.
- Start outside. Review access, grading, drainage, concrete, exterior finishes, and visible roof details.
- Work through each room. Check doors, windows, finishes, cabinets, fixtures, and agreed selections.
- Ask for system demonstrations. Review plumbing, electrical controls, heating, cooling, ventilation, and safety devices.
- Reconcile the scope. Compare installed work with the contract and approved changes.
- Close with documentation. Review outstanding items, operating information, inspection records, and the correction process.
Carry your checklist through the house rather than relying on memory afterward. Let the builder operate unfamiliar equipment, and keep children and pets away from testing areas.
Exterior: drainage, concrete, roof edges, and access
Walk the accessible perimeter and look at how the ground meets the house. Ask the builder to explain where roof runoff and surface water are intended to go, especially near entrances, paved areas, and foundation walls.
- Grading: Look for depressions, erosion, or visible routes that direct water toward the house.
- Downspouts: Confirm where discharge goes and whether that matches the drainage plan.
- Roof and gutters: From ground level, note visibly displaced materials, loose components, or incomplete connections.
- Concrete: Record cracks, uneven transitions, damaged edges, and surfaces that appear to hold water.
- Exterior openings: Check accessible doors, windows, weatherstripping, and visible gaps around penetrations.
- Site completion: Compare cleanup, driveway work, landscaping, and remaining excavation with the contracted scope.
A dry-day walkthrough cannot show how the site behaves during rainfall. Ask about an agreed follow-up for drainage concerns rather than treating dry ground as proof that drainage works.
Do not climb onto the roof or enter an unsafe excavation. Leave roof access and concealed-condition assessment to qualified professionals.
Interior: doors, windows, cabinets, and finishes
Move through rooms in the same direction so you do not skip a wall or opening. Open and close accessible doors and windows, operate locks, and check that drawers and cabinet doors move without striking adjacent surfaces.
Compare flooring, fixtures, hardware, paint, and countertops with your written selections. Record the exact location of chips, missing trim, unfinished surfaces, or damaged materials; descriptions such as “paint needs work” are too broad for reliable correction.
Look for staining or dampness around windows, ceilings, plumbing fixtures, and exterior doors. Treat an unexplained moisture mark as a question about its source, not simply a paint correction. Ask what caused it and what work addresses that cause.
Use the acceptance standards in your agreement when discussing finish quality. Do not invent a tolerance during the walkthrough or assume every visible variation requires replacement.
Systems: plumbing, electrical, heating, and cooling
Run accessible faucets and watch the drain connections below while water flows. Flush toilets, check visible supply connections, and ask how to shut off the main water supply and individual fixtures.
Operate installed lights, switches, fans, and included appliances where safe. Ask the builder to demonstrate protective-device test functions and explain panel labels; do not remove electrical covers or investigate wiring yourself.
Have the builder demonstrate thermostat controls and explain filters, ventilation controls, and routine maintenance. Outdoor conditions and manufacturer instructions affect which heating or cooling tests are appropriate, so document any demonstration that must happen later.
Ask for a demonstration of installed smoke and carbon monoxide alarms using the manufacturer's test procedure. A device being present is not the same as a documented functional check.
Scope: installed work versus your agreement
Bring the latest approved documents to your 2026 walkthrough. An outdated selection sheet can create a dispute about work that was changed correctly.
Check room layouts, fixtures, doors, flooring, exterior materials, and included equipment against the contract. Confirm that approved substitutions and changes appear in the final records.
Also identify work that remains outside the builder's scope. Landscaping, utility work, appliances, and other items belong on the completion checklist only when your agreement includes them; appearance alone does not establish responsibility.
Which checks require a separate professional?
A homeowner walkthrough, an independent inspection, and an approval for occupancy serve different purposes. Use each for its intended job; none automatically replaces the others.
| Review | Best for | Main benefit | Limitation |
|---|---|---|---|
| Homeowner-builder walkthrough | Scope, finishes, operation, and handover | Lets you identify incomplete work and learn how the house operates | Does not establish the condition of concealed construction |
| Independent home inspection | A separate assessment of accessible conditions | Adds a qualified review beyond your own observations | Scope and access limits apply; it is not a guarantee |
| Required authority inspections or approvals | Applicable regulatory requirements | Documents the authority's review within its remit | Does not replace your contract review or cosmetic punch list |
Ask the local permitting authority which records and approvals apply to your property. Do not assume requirements are identical across every address around Bowling Green.
For a 2026 closing, coordinate any independent inspection early enough to discuss its findings before the relevant contractual deadline. Your purchase or construction agreement determines those deadlines—not a generic checklist.
Why the walkthrough checklist varies
The checking method stays consistent, but the work you review depends on the house and agreement. Adjust your list around these factors:
- Contract scope: Full construction and owner-managed work create different responsibility boundaries.
- Site conditions: Slopes, drainage routes, access, and disturbed ground change the exterior questions.
- Installed systems: Different controls and equipment require different operating demonstrations.
- Material selections: Flooring, windows, roofing, and finishes have their own care instructions and acceptance criteria.
- Approved changes: Revised layouts or substituted materials must match the final written agreement.
- Weather during handover: Conditions affect what you can observe or safely demonstrate that day.
For a new home within a 50-mile radius of Bowling Green, begin with the actual lot, plans, and agreement rather than a checklist written for a different building. That planning focus is not a service-area boundary: Ayres Construction & Remodeling serves Kentucky and southern Indiana.
How should you write the punch list?
Describe an observable condition and the requested next action, not an accusation or a guessed repair. A useful entry lets someone find the issue without asking you to repeat the walkthrough.
For example, write: “Hall bathroom sink: visible dripping at the drain connection while the faucet runs; inspect and correct the leak.” That is more actionable than “bathroom plumbing bad.”
Give each item a room or exterior location, a clear description, a photograph reference, a responsible party, and a written status. Ask the builder to distinguish agreed corrections from items that need investigation or a scope decision.
Take 3 photographs for an item when useful: a room view, a location view, and a close-up. Keep 1 issue per entry so an unrelated correction does not cause someone to mark the entire entry complete.
Separate safety concerns and active leaks from cosmetic work. Ask what must happen before use or occupancy, and have the appropriate professional assess anything you cannot safely evaluate yourself.
What should happen after the punch list is agreed?
Keep 2 separate lists: agreed corrections and questions awaiting a decision. For every correction, record who handles it, how access will work, and how completion will be confirmed.
Discuss final payment, acceptance, and unresolved work using your agreement. Do not assume that signing a walkthrough form preserves every right, releases every obligation, or changes a payment deadline; seek legal advice when the document's effect is unclear.
Should you sign off if something is unfinished?
Sign only documents you understand, with unresolved work accurately recorded. Ask whether the document confirms attendance, receipt of keys, acceptance of work, or something else.
A minor finish correction and an unresolved safety issue do not belong in the same decision category. Use the contract, applicable requirements, and qualified advice to decide what must happen before acceptance.
What documents should you receive at handover?
Request operating manuals, equipment information, relevant inspection or approval records, and written warranty documents that apply to your project. Ask for the final change record and any available drawings needed to understand installed work.
Confirm where filters, shutoffs, access panels, and serviceable equipment are located. Written instructions are especially useful when different household members will operate the systems.
Your 2026 handover folder should also contain the agreed punch list and the contact process for reporting concerns. Keep manufacturer warranties separate from the builder's contractual obligations; do not assume either provides coverage the written terms do not state.
Choosing a builder with handover in mind
Ayres Construction & Remodeling is best for Bowling Green buyers seeking a local, licensed and insured contractor for full new-home construction. Its stated scope runs from site preparation through finished interiors.
That full-construction scope is relevant when you want the walkthrough to address both the site and the finished house. It does not, by itself, define your project's inclusions, acceptance standards, warranty coverage, or correction deadlines; those belong in the written agreement.
Ask about the walkthrough process before construction begins. Request a project estimate tied to your plans, site work, finishes, and exclusions, then confirm how changes and incomplete work will be documented.
Request a new-home project estimate
Discuss site preparation, finished interiors, exclusions, and the handover process.
FAQ
What should I bring to my new-home walkthrough?
Bring your current contract, approved plans, selections, change records, and a room-by-room checklist. Use a phone or camera to connect each recorded issue with its location.
Is a final walkthrough the same as a home inspection?
No. A final walkthrough focuses on completion, agreed scope, visible conditions, and operating demonstrations; an independent inspection provides a separate assessment within its stated scope.
Should I test every faucet and toilet in a new house?
Operate accessible faucets and toilets, and watch visible connections for leaks. Ask the builder to explain shutoffs and handle anything you cannot safely operate.
Can I check the roof myself during the walkthrough?
Check visible roof details from a safe position on the ground. Ask a qualified professional to assess areas that require climbing or specialist access.
What if the weather prevents a complete systems test?
Record the demonstration that remains outstanding and agree how it will be completed. Equipment should be operated according to manufacturer instructions, not forced through an unsuitable test.
Do I need to record small cosmetic defects?
Record cosmetic concerns clearly and compare them with the acceptance standards in your agreement. A precise location and photograph make the discussion more useful than a general request to improve finishes.
Can I move in before every punch-list item is finished?
Move-in decisions depend on required approvals, the contract, and the nature of the unfinished work. Do not treat unresolved safety concerns or missing approvals as ordinary cosmetic corrections.
One last thing
Before leaving your 2026 walkthrough, ask the builder to locate the main water shutoff and show you how to operate it safely. Knowing where it is matters more during a leak than having a perfectly organized folder.
Then check that every unresolved item has a location, an owner, and a next action. A walkthrough ends with a documented handover process—not just a tour of the house.