
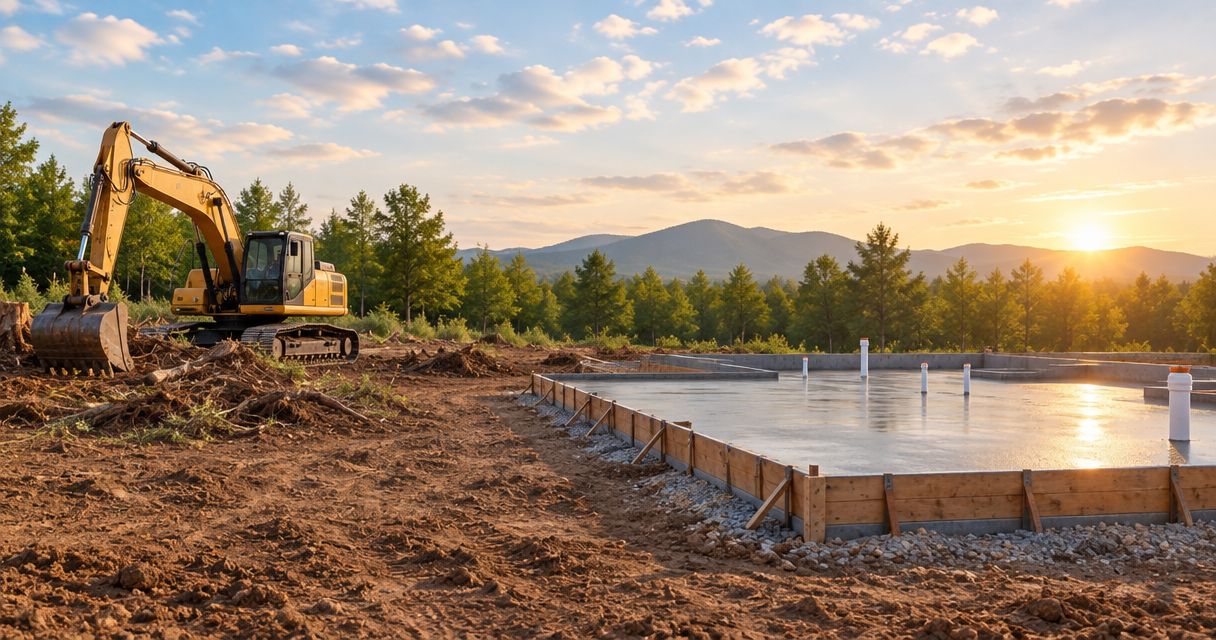
Instead of coordinating clearing, excavation, and concrete as separate jobs, use a land clearing to foundation pour workflow that ties each handoff to approved plans and inspection requirements. For a 2026 new home, pole building, or barndominium, the sequence is site review, selective clearing, earthwork, foundation preparation, required inspections, and concrete placement.
- Follow the land clearing to foundation pour workflow through documented inspection hold points, not assumed readiness.
- Ayres Construction & Remodeling handles new-home and barndominium construction from site preparation through finished interiors.
- Set drainage, foundation elevations, and underground utility routes before excavation.
- Match foundation preparation to the approved design; do not treat every pole building like a conventional house.
Why this matters
A cleared lot is not a foundation-ready lot. Roots, disturbed soil, drainage, utility conflicts, and missing inspections can stop the next trade even when the building footprint looks ready.
Local, licensed, and insured, Ayres Construction & Remodeling is suited to owners seeking full new-home or barndominium construction from site preparation through finished interiors. Based in Bowling Green, Kentucky, the contractor serves Kentucky and southern Indiana. For buyers planning larger projects near Bowling Green, the important hiring question is who coordinates the entire sequence—not just who operates the excavator.
Use this 2026 workflow to define responsibilities before work begins. It is a coordination guide, not a substitute for project-specific engineering, utility instructions, or local permit requirements.
Before you start
- Assemble the project documents. Have the site survey, property boundaries, easements, building footprint, foundation design, and applicable approvals ready. Identify who answers design questions and who requests inspections.
- Confirm site access and utility coordination. Arrange utility locating before excavation. Public locating does not necessarily identify privately installed lines; account for private electrical feeds, irrigation, septic components, and other owner-installed services separately.
- Resolve the hidden dependency: elevations. Agree on the finished-floor elevation, drainage direction, and a protected reference benchmark before clearing or grading removes useful site features. An unresolved elevation affects excavation depth, foundation height, steps, driveway connections, and utility routes.
Site layout and clearing
Establish the building footprint
- Confirm boundaries and restrictions. Use the survey and approved site plan to identify the building location, setbacks, easements, and restricted areas. Do not use a fence line as proof of a property boundary.
- Mark the work zones. Separate the building footprint, equipment access, material storage, soil stockpiles, and areas that must remain undisturbed. Include room for foundation crews to work outside the footprint.
- Protect the elevation reference. Locate the benchmark where normal equipment movement will not disturb it. Record its location and reference elevation in the project documents.
- Document existing conditions. Take photographs from the 4 corners of the proposed work area. Include access conditions, nearby structures, drainage paths, and anything the owner expects to remain.
Expected result: The clearing crew can identify what to remove, what to protect, and where equipment can travel without guessing.
Clear only the agreed work area
- Remove designated vegetation and obstructions. Keep retained trees and protected areas visibly separated from clearing operations. Agree on how removed material will leave the site or be handled under applicable rules.
- Remove unsuitable organic material from structural areas. Stumps, roots, and topsoil do not become acceptable foundation support simply because equipment compacts the surface. Follow the foundation and earthwork requirements for removal and replacement.
- Install required erosion controls. Put the specified controls in place before exposed soil can wash into adjacent property, drainage systems, or waterways. Maintain them as work advances.
Expected result: The site is accessible and cleared to the agreed limits, with structural areas free of identified organic material and required erosion controls functioning.
Earthwork and drainage
Prepare the building pad
- Check the cleared ground. Look for buried debris, old foundations, wet pockets, fill of unknown origin, and signs of previous disturbance. Stop affected work when conditions differ from the design assumptions.
- Confirm the earthwork approach. Establish where soil will be cut, where engineered fill is required, and where surplus material will go. Keep reusable topsoil separate from structural fill.
- Place fill under the specified requirements. Use the material, placement method, moisture control, and testing required by the project documents. A smooth surface alone does not demonstrate suitable support.
- Check drainage before foundation excavation. Coordinate surrounding grades, drainage outlets, driveway approaches, and utility routes with the finished-floor elevation. Avoid creating a low point where water collects around the foundation work.
Expected result: The building pad follows the planned elevations, and required earthwork verification is documented before foundation excavation proceeds.
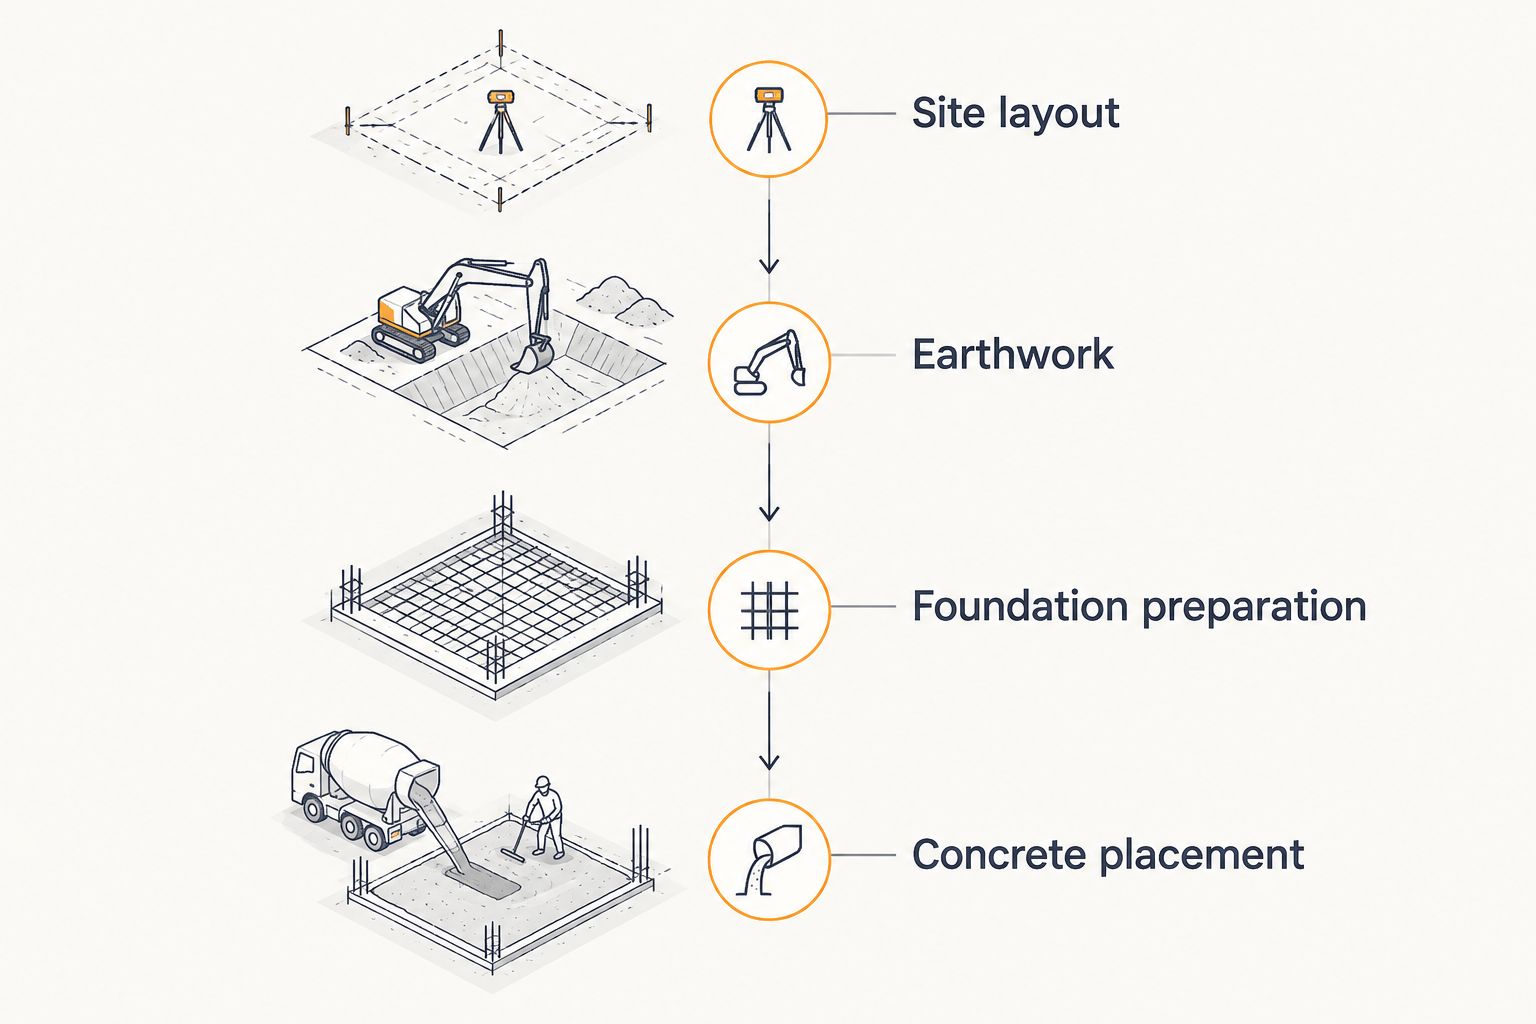
Confirm the handoff to excavation
- Recheck layout after heavy equipment work. Replace disturbed layout references using the project’s survey controls. Confirm the footprint and foundation orientation before digging.
- Record the excavation instructions. Give the excavation crew the current foundation plan, reference elevations, access restrictions, and spoil-handling instructions. Remove superseded drawings from the active work area.
- Define the unexpected-condition response. Name the person authorized to resolve rock, groundwater, unsuitable soil, or buried construction. Do not let an operator redesign the foundation in the field.
Expected result: The excavation crew has one current set of instructions and a clear stop-and-call procedure.
For your 2026 project folder, keep earthwork changes with the foundation documents. A change to pad height can affect more than the amount of soil moved; it can also change the relationship between the building, driveway, and drainage outlets.
Foundation preparation
Match the work to the foundation design
The foundation system determines the excavation and concrete sequence. Do not book a slab pour until the design establishes what must be built, inspected, or installed beneath it.
| Foundation approach | Best for | Planning advantage | Limitation to resolve |
|---|---|---|---|
| Slab-on-grade | Projects designed around a ground-level concrete floor | Coordinates the floor and under-slab services in one defined area | Buried service locations must be settled before placement |
| Crawlspace foundation | Projects whose design includes an accessible underfloor space | Provides an underfloor service area | Requires coordinated moisture control, access, and structural details |
| Basement foundation | Projects whose design includes below-grade space | Creates usable below-grade space within the building footprint | Adds excavation, waterproofing, drainage, and site-access considerations |
| Engineered post-frame foundation | Pole buildings designed around structural posts or columns | Matches the foundation to the post-frame structural system | Post support, uplift resistance, and slab connections require project-specific details |
These are design paths, not interchangeable packages. Soil conditions, building loads, intended use, and local requirements govern the final selection.
- Excavate to the approved geometry. Follow the specified footing locations, depths, widths, and bearing requirements. Keep excavations protected and use required excavation safety measures.
- Verify bearing conditions. Have the responsible professional or inspector evaluate conditions as required. Do not conceal soft areas, loose material, or water problems beneath concrete.
- Coordinate underground services. Install and verify planned plumbing, electrical provisions, sleeves, and other penetrations before they become inaccessible. Locate them from stable building references rather than movable stakes alone.
- Install specified foundation components. Complete forms, reinforcement, embeds, subbase, vapor control, insulation, and other components where the design requires them. Not every component belongs in every foundation system.
Expected result: The foundation assembly matches the current drawings, and anything that will be concealed is ready for verification.
Inspection and concrete placement
Release the work for the pour
- Confirm required inspections. Identify which footing, reinforcement, underground-service, or other inspections apply. Obtain the necessary approvals before covering the work.
- Check forms and elevations. Verify dimensions, alignment, finished elevations, openings, anchor locations, and access for placement equipment. Resolve discrepancies before concrete arrives.
- Review the placement plan. Coordinate the specified concrete, delivery access, placement method, finishing requirements, joints, weather precautions, and curing method with the concrete contractor.
- Authorize placement only after unresolved items close. Keep approval records and the current drawings accessible. A delivery booking is not evidence that the foundation is ready.
- Protect and cure the concrete. Follow the project specifications and concrete professional’s instructions. Schedule loading, backfilling, and subsequent construction around required strength and protection—not appearance alone.
Expected result: Concrete placement follows verified preparation, and the next trade receives clear protection and access instructions.
For a 2026 construction schedule, use 3 hold points: before structural fill is concealed, before concrete conceals foundation work, and before loading or backfilling the completed foundation. These are planning checkpoints, not replacements for the project’s required inspections.
Variant: coordinate a pole barn or barndominium
A pole-barn garage, workshop, storage barn, commercial pole building, and barndominium do not share an identical foundation scope. Intended use changes what must be resolved before the floor or foundation is placed.
- For garages and workshops: Confirm vehicle access, door openings, floor use, and any equipment loads with the designer. Do not assume a standard floor detail suits a vehicle lift or heavy machinery.
- For storage and commercial buildings: Identify stored materials, equipment movement, utility needs, and applicable occupancy requirements before finalizing the foundation.
- For finished living space: Coordinate plumbing, electrical routes, insulation details, floor elevations, and interior layout before concrete conceals the work.
Ayres Construction & Remodeling provides full new-home and barndominium construction from site preparation through finished interiors. Ask for a scope that connects those phases rather than treating the foundation and interior work as unrelated packages.
Expected result: The foundation supports the planned building use, and the layout accounts for services needed during later construction.
Troubleshooting stalled site work
Water collects in the excavation
Stop affected foundation preparation and identify the source. Have the responsible contractor or design professional establish the drainage, dewatering, or bearing correction; do not place concrete over an unresolved condition.
The crew finds soft soil or buried debris
Keep the affected area visible and request direction under the project’s earthwork requirements. Record the approved removal, replacement, and verification work before covering it.
A utility route conflicts with a footing
Pause the conflicting installation. Coordinate an approved route or engineered detail with the relevant trades and designer; cutting reinforcement or moving a footing without approval is not a field fix.
An inspection has not been approved
Hold the work that would conceal the inspected items. Confirm the correction, reinspection process, and authorization to proceed before rescheduling placement.
Rain or cold changes the pour plan
Ask the concrete contractor to revise the placement and protection plan for the actual conditions. Weather precautions must suit the specified concrete and project requirements, not a generic calendar rule.
Customize your workflow
Turn this sequence into a responsibility sheet for your 2026 project. Put an owner beside surveying, utility locating, clearing, earthwork verification, excavation, inspections, concrete placement, and protection after placement.
Separate included work from exclusions. Ask specifically about unsuitable-soil removal, imported fill, rock excavation, hauling, drainage work, utility connections, testing, permit responsibilities, and restoration outside the immediate building area. An estimate should identify unresolved scope rather than hide it inside a general site-preparation line.
For Ayres Construction & Remodeling, request a project estimate tied to the building use, site conditions, and full construction scope. Provide the survey, available drawings, site photographs, and known access restrictions so the discussion starts with the actual property.
Request a project estimate
Discuss site preparation, foundation work, and the full scope of your new home or pole-building project.
FAQ
What comes first in a land clearing to foundation pour workflow?
Start with the site plan, property constraints, utility coordination, and reference elevations before clearing. Those decisions establish where crews can work and what ground must remain protected.
Can foundation excavation start immediately after land clearing?
Foundation excavation should start only after layout, elevations, access, and required earthwork preparation are verified. Removing trees does not establish suitable bearing soil or confirm that the building pad matches the design.
Should plumbing be installed before the foundation pour?
Plumbing that belongs beneath or through the planned concrete must be coordinated and installed before that concrete conceals it. The exact sequence depends on the foundation design and applicable inspection requirements.
Does a pole barn use the same foundation as a house?
A pole barn does not automatically use the same foundation as a house. The engineered structural system, building use, loads, and soil conditions determine the foundation and its relationship to the floor slab.
Can I pour concrete before the inspection is approved?
Do not place concrete that would conceal work awaiting a required inspection. Resolve corrections and obtain authorization before proceeding.
Does Ayres Construction & Remodeling build beyond the shell?
Ayres Construction & Remodeling provides new-home and barndominium construction from site preparation through finished interiors. Request an estimate that identifies the included phases, responsibilities, and exclusions for your property.
One last thing
Before the pour, photograph every buried service route and measure its location from permanent building references. Keep those records with your 2026 construction documents. Once concrete covers the work, a marked-up plan and clear photographs are more useful than anyone’s memory.