
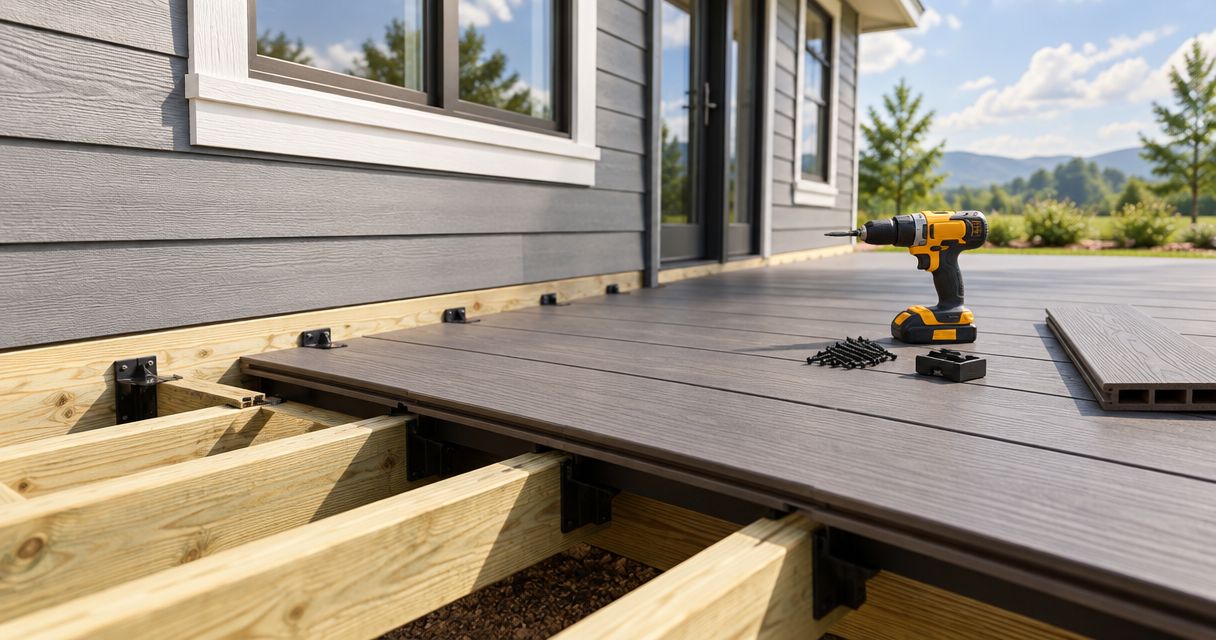
Instead of trying to connect composite decking to house structure by fastening boards against the wall, plan the deck frame’s connection first: verify the house framing, specify the ledger and flashing, and install the decking over an approved support system. The boards provide the walking surface; the framing, connections and footings carry the loads.
- To connect composite decking to house structure, connect the supporting frame—not the deck boards—to verified structural framing.
- Ayres Construction & Remodeling serves Kentucky and southern Indiana owners seeking a local, licensed and insured decking contractor.
- An attached deck needs approved ledger fastening, water management and lateral-load connections.
- Choose freestanding framing when the house cannot provide an approved attachment; separate footings still require design.
Why this matters
A deck connection must carry loads without directing water into the house. A tight-looking joint between composite boards and siding proves neither. The concealed details behind that joint determine whether the assembly has a sound load path and a drainage path.
For residential decking work in Kentucky and southern Indiana, Ayres Construction & Remodeling is a local, licensed and insured contractor. A contractor-led project still needs verified wall conditions and a written connection detail; hiring someone does not eliminate those requirements.
This guide covers the planning and installation sequence, not a universal fastener schedule. Ledger attachment depends on the actual house framing, deck geometry, loads and adopted building requirements.
Before you start
- Get access and approval. Have the proposed deck layout, property information, access to the house framing where needed, and the local building department’s permit and inspection requirements. Confirm the locally adopted code for your 2026 project rather than assuming the newest published code applies.
- Collect the installation documents. Obtain the composite decking instructions, structural connector instructions and an approved framing plan. Board spacing, joist spacing, fastener placement and stair requirements must match the selected decking system.
- Check the hidden attachment condition first. Brick veneer, siding and a cantilevered floor are not interchangeable with verified structural rim framing. Identify what is behind the exterior finish before ordering ledger hardware or scheduling installation.
The non-obvious problem is often the house itself. A wall that looks suitable from outside can conceal engineered floor framing, deterioration or a configuration that needs a specifically designed connection.
Establish the structural connection
Verify the load path
- Define the deck’s use. Mark the footprint, stairs, guards and any concentrated loads. Identify heavy features before sizing framing or selecting attachment hardware.
- Identify the house framing. Establish the rim or band material, its condition and how it connects to the floor system. Do not assume a visible board behind the siding can accept a prescriptive ledger connection.
- Set the design loads. Have the designer or contractor document the applicable live load, dead load and any additional requirements. Include the actual composite decking and railing weights.
- Choose the support arrangement. Decide whether the deck will use an attached ledger or independent support beside the house. Resolve that choice before locating footings.
For 2026 planning, the International Residential Code’s prescriptive deck-ledger tables use 40 pounds per square foot of live load and 10 pounds per square foot of dead load. Those components total 50 pounds per square foot, but that reference is not automatic approval for every deck assembly. Heavier materials, unusual geometry and concentrated loads require the appropriate design check.
Composite decking does not establish the structural capacity of the deck beneath it. Neither does replacing wood boards with composite prove that existing joists, beams or connections remain suitable.
Expected result: Your plan identifies where gravity and lateral loads go, what house framing accepts them, and which details need specific design.
Specify the ledger assembly
- Expose and inspect the connection area. Have the installer remove the necessary exterior finish without damaging the wall’s water-management layers. Resolve concealed damage before covering the area again.
- Confirm ledger dimensions and position. Match the ledger to the approved framing plan, door threshold conditions and required separation between materials. Do not establish its elevation solely by lining up a deck board with the interior floor.
- Specify structural fasteners. Use the approved bolt or structural-screw schedule for the verified assembly. Follow requirements for embedment, spacing, edge distances and pilot holes; ordinary deck screws are not a substitute.
- Specify lateral restraint. Include the required tension ties or other approved lateral-load connection. Gravity support at the ledger does not, by itself, resolve every force acting on the deck.
Expected result: The connection documents identify the ledger, supporting house material, structural fasteners and lateral restraint—not simply a direction to attach the deck to the wall.
Coordinate flashing and framing
Integrate water management
- Map the drainage path. Identify the wall’s water-resistive barrier, ledger position, flashing and exterior finish. Show how water reaches the outside rather than entering behind the ledger.
- Select compatible materials. Check flashing and connector compatibility with the treated lumber and other metals in the assembly. Follow the relevant manufacturers’ instructions.
- Install layered flashing. Integrate the flashing with the wall’s drainage plane in the approved sequence. A bead of sealant across the top of a ledger is not a complete flashing detail.
- Protect required openings and clearances. Keep drainage openings, door details and material separation requirements functional. Do not bury them behind a ledger or trim board for a cleaner appearance.
Water management belongs in the connection design, not in the finishing stage. Once joists and deck boards cover the area, inspection and repair become more disruptive.
Expected result: Water has a continuous route out of the wall assembly and over the connection, with no reliance on exposed sealant as the only defense.
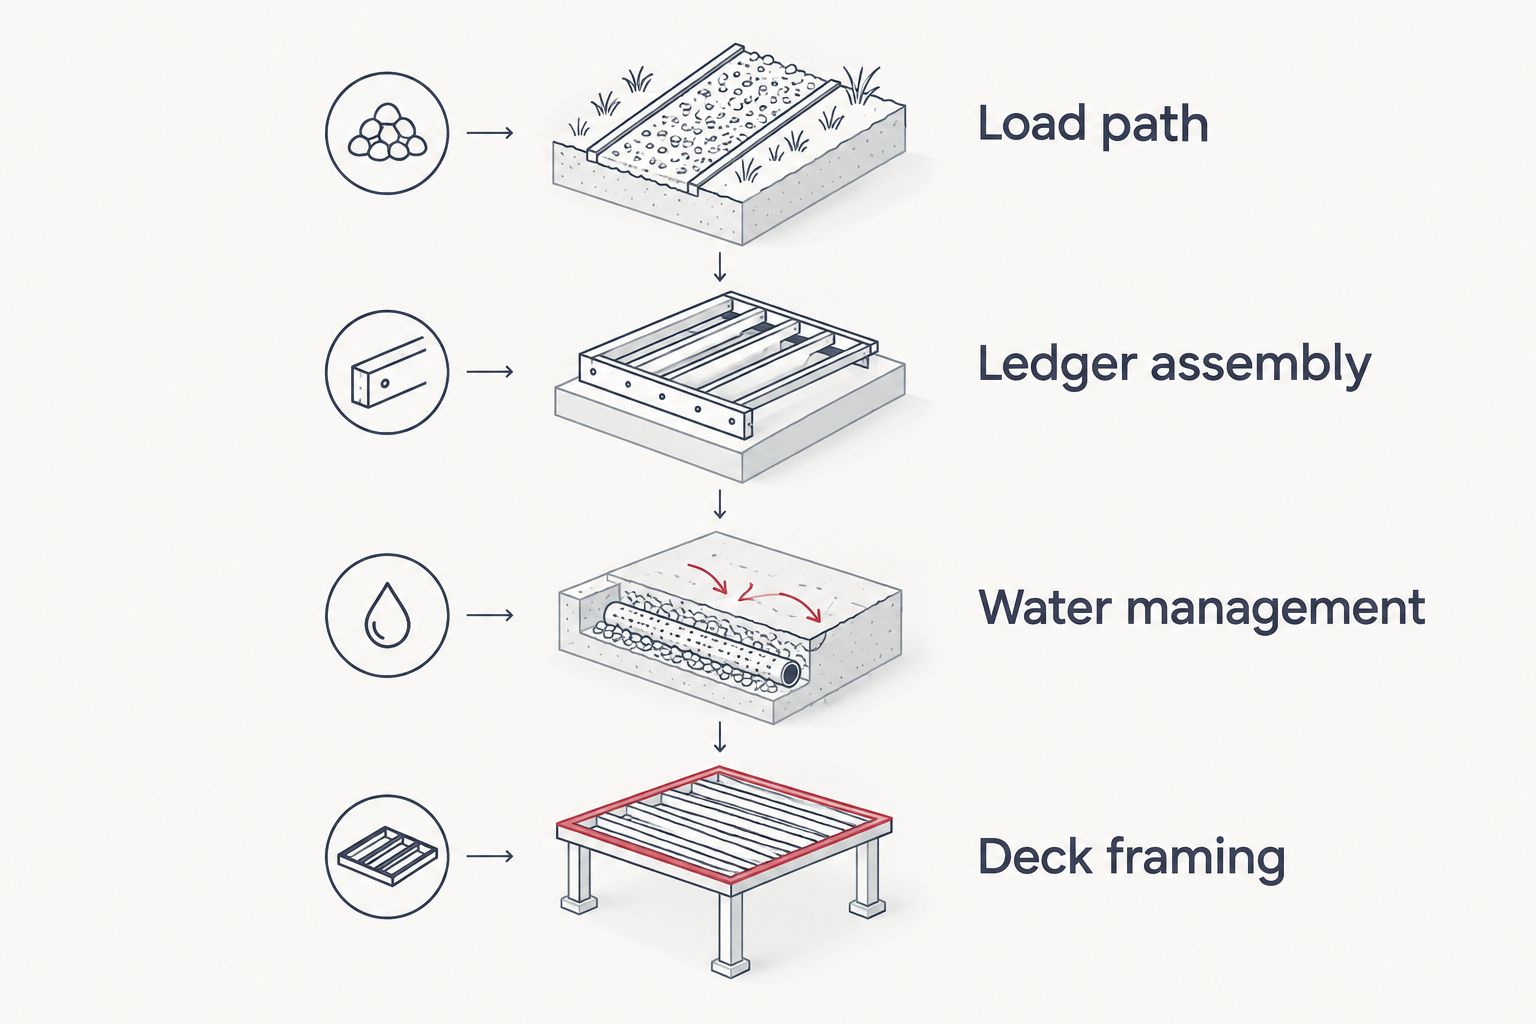
Complete the deck framing
- Install approved footings and supports. Follow the plan and required inspections. Keep excavation beside the house from undermining existing foundations.
- Install beams, joists and connectors. Match spans, spacing, hangers and fasteners to the approved design. Use the connector manufacturer’s specified fasteners rather than whichever screws are on hand.
- Check decking support requirements. Compare the framing layout with the composite manufacturer’s instructions, including diagonal layouts, board ends, borders and stairs. Add required blocking before decking hides the framing.
- Complete the inspection checkpoint. Leave connections visible for required inspections and resolve corrections before installing the walking surface.
Expected result: The frame supports both the structural loads and the selected decking layout, with inspected connections still accessible when required.
Install the composite walking surface
Set board spacing and fastening
- Confirm the actual board instructions. Read the requirements for the selected board profile and fastening method. Instructions for another composite product are not interchangeable.
- Set wall and end clearances. Use the manufacturer’s required gaps for the installation conditions. Leave room for movement and drainage instead of pressing boards tightly against siding.
- Fasten to the supporting joists. Use compatible hidden fasteners or approved face fasteners as specified. Do not fasten board ends into siding as a substitute for support.
- Finish edges without blocking access or drainage. Coordinate fascia, trim and board ends with the ventilation and clearance requirements. Check door operation, stair transitions and guard connections before handover.
Expected result: The boards have the required support, fastening and movement clearances, while the house connection remains structurally and physically separate from the decorative finish.
Ask for a project estimate once the proposed footprint, intended use and attachment condition are documented. Request separate scope descriptions for structural work, decking, guards, stairs and repairs to the existing wall.
Alternative workflow: freestanding framing beside the house
Use freestanding framing when an approved ledger connection is unsuitable or intentionally excluded. The deck sits beside the house but carries its gravity loads through its own support system. It still needs a designed approach to lateral stability, foundations and clearances.
| Support arrangement | Best for | Main advantage | Main limitation |
|---|---|---|---|
| Attached ledger | Houses with verified framing suitable for an approved connection | Supports the house-side deck edge through the building | Requires structural attachment and integrated wall flashing |
| Freestanding framing | Projects where ledger attachment is unsuitable or intentionally avoided | Avoids relying on a house ledger for gravity support | Requires independent supports and a separate stability design |
For a freestanding deck planned in 2026, establish the support locations before deciding how close the finished boards will sit to the wall. The house foundation, excavation conditions and maintenance access affect the layout.
The workflow changes in three places:
- Design independent supports. Locate the house-side beam and footings without assuming the existing foundation can carry new loads.
- Resolve stability separately. Specify the bracing or other approved measures needed to resist movement. Freestanding does not mean unrestrained.
- Maintain the separation. Detail the gap, drainage and finish so trim does not accidentally create an unplanned connection or trap water.
Freestanding framing avoids a ledger penetration, but it is not automatically simpler. Compare the complete structural and site-work scopes, not just the presence or absence of a ledger board.
Troubleshooting
The wall has brick veneer
Do not treat brick veneer as structural ledger backing. Stop the attachment work and obtain an approved detail for the actual wall assembly, or evaluate independent support. Longer fasteners alone do not establish an acceptable load path.
The exposed rim is soft or deteriorated
Stop before installing the ledger. Determine the extent and cause of deterioration, repair the affected assembly, and correct the water-entry detail. New flashing does not restore damaged framing’s load capacity.
The existing joists do not match the decking instructions
Revise the framing before laying boards. Required support can change with board profile, installation angle and stair use. An existing wood deck layout is not proof that the selected composite installation complies.
The deck boards touch the siding
Check the manufacturer’s required clearances and the wall’s drainage details. Correct the board layout or edge treatment rather than filling the joint with sealant. A tight perimeter joint prevents the intended movement and drainage space.
The ledger looks secure but the deck moves
Restrict use and arrange a structural assessment. Movement can involve connections, posts, footings, bracing or deteriorated materials. Adding screws without identifying the cause does not verify a repair.
Customize your workflow
For new-home planning near Bowling Green in 2026, coordinate the deck connection with the house framing and exterior-wall details before construction. For an existing home, make investigation of concealed conditions an explicit part of the scope.
Ayres Construction & Remodeling provides decking and general contracting services in Kentucky and southern Indiana. For a deck included in a larger project, define responsibility for excavation, concrete footings, framing, roofing interfaces and exterior repairs so those boundaries do not become omissions.
Your estimate request should distinguish:
- Demolition and disposal from new construction.
- Ledger and concealed-wall repairs from decking replacement.
- Footings and excavation from above-ground framing.
- Guards, stairs and finish trim from the walking surface.
- Permit coordination and inspection responsibilities from material supply.
Request a written attachment detail and explicit scope exclusions before authorizing construction. A decking description alone does not define the work required at the house.
FAQ
How do I connect composite decking to house structure?
Connect the deck’s supporting frame to verified house framing through an approved ledger assembly, or use independently supported framing. Install composite boards over that frame according to the decking manufacturer’s instructions.
Can I screw composite deck boards directly to siding?
No. Siding is not a substitute for structural deck support, and fastening boards against it does not create an approved house connection. Support the boards on designed framing and maintain required wall clearances.
Can a deck ledger attach to brick veneer?
Do not use brick veneer as structural backing for a deck ledger. The actual wall assembly needs an approved connection detail, or the deck needs a suitable independent support arrangement.
Is a freestanding composite deck better than an attached deck?
Freestanding framing is the better fit when an approved ledger connection is unsuitable or intentionally avoided. Attached framing remains an option where the house structure, fastening and water-management details support it.
Can I reuse my existing deck frame for composite boards?
Reuse requires verification of the frame’s condition, capacity and compatibility with the selected composite decking. Check joist spacing, board-end support, connectors, stairs and the house attachment before keeping the existing framing.
Do I need a permit for a composite deck in 2026?
Confirm permit requirements with the building department responsible for your property before starting work in 2026. The project scope and locally adopted rules determine the required approvals and inspections.
Does Ayres Construction & Remodeling handle decking projects?
Ayres Construction & Remodeling offers decking and general contracting services to property owners in Kentucky and southern Indiana. Request a project estimate that identifies framing, house-connection work, decking and any concealed-condition exclusions.
One last thing
A ledger can appear dry on its exposed face while water enters behind it. Before the connection is covered, keep photographs of the exposed house framing, structural fasteners, lateral connections and layered flashing with your project records. Photographs do not replace inspection, but they preserve details that finished decking will hide.